Thinking about moving your pool table yourself? You might want to think twice.
Pool tables are among the hardest household items to relocate. They are massive, fragile, and precision-built. One wrong move can result in a cracked slate, ripped felt, broken legs, or a table that never plays the same again.
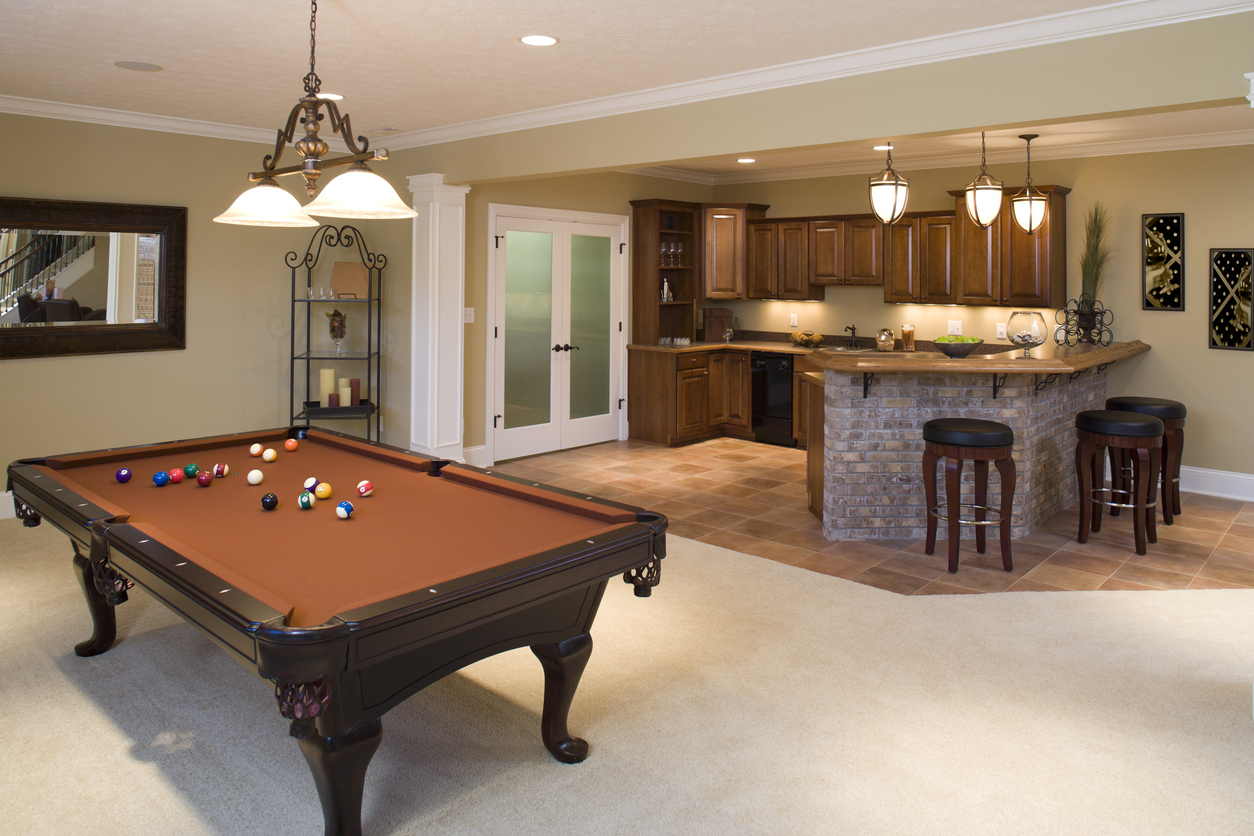
Still set on doing it yourself? This comprehensive guide walks you through how to move a pool table without damaging it, your home, or your body.
Why Pool Tables Are So Hard to Move
Most pool tables weigh between 700 and 1,000 pounds. The slate alone can weigh 250 pounds per section. These tables are not designed to be moved in one piece. You have to disassemble them, move each part carefully, and reassemble everything with precision.
Trying to move one without preparation can lead to:
- Injuries
- Damage to walls, floors, stairs, and doorframes
- A warped or uneven playing surface
- Expensive repairs
If you’re not completely confident, your safest bet is to hire a professional. But if you’re up for the challenge, here’s everything you need.
Supplies You’ll Need
You’ll need more than just a few strong arms. Here’s a full list of supplies:
- Power drill
- Socket wrench set
- Staple remover
- Flathead and Phillips screwdrivers
- Moving blankets or bubble wrap
- Furniture dollies
- Heavy-duty moving straps
- Plastic bags and labels
- Work gloves
- Leveling tools (spirit level or laser level)
- Optional ramp for easier loading

Step 1: Measure Everything
Before touching the table, measure the following:
- The pool table itself
- Doorways, stairwells, hallways, and tight spaces
- The dimensions of your moving truck
Also, map out the full path from the current location to the truck and from the truck into your new space. Remove obstacles and protect corners, floors, and doorframes with pads or blankets.
Step 2: Disassemble the Pool Table
This part requires patience and precision. Stay organized and label everything.
Remove the Pockets
If pockets are stapled in, remove the staples with a staple remover. If screwed in, use a screwdriver. Store all hardware in labeled bags.
Remove the Rails
Use a socket wrench to take off the side rails. Label or number each piece to make reassembly easier.
Take Off the Felt
Carefully remove the felt using a staple remover. If it’s glued on, it may need to be replaced. Fold the felt neatly if you plan to reuse it.
Remove the Slate
Use a drill to remove the screws that hold the slate in place. Most tables have three slate sections, but some have a single solid piece. Each section is extremely heavy, so use at least two or three people when lifting. Lay the slate flat to avoid damage.
Detach the Legs
Turn the frame on its side and remove the legs using a socket wrench. Wrap each leg in blankets or padding.
Step 3: Protect and Wrap All Components
Wrap every part of the pool table in moving blankets or bubble wrap. Secure fragile pieces with straps and store everything in an organized way. This step is key to preventing damage during transport.
Step 4: Load the Moving Truck
Place the heaviest items, such as the slate, at the bottom and near the truck’s axle to keep the load balanced. Avoid stacking anything on top of the slate or frame. Use ratchet straps to secure every piece and prevent shifting during the drive.
Step 5: Reassemble at the New Location
Now comes the part where patience matters most. Reassembly needs to be precise.
Set the Frame and Attach the Legs
Place the frame on a level surface. Reattach the legs and check that everything is sturdy before moving on.
Install the Slate
Position the slate sections in the same order as before. Use a level and shims to make sure the playing surface is perfectly flat. Fill the seams with beeswax or seam filler.
Reattach the Felt
Lay the felt over the slate and stretch it evenly. Secure it underneath the table using a staple gun. Make sure the surface is smooth and wrinkle-free to ensure proper gameplay.
Reinstall the Rails and Pockets
Using your labels and notes, reattach the rails and pockets. Double-check for alignment and tighten all hardware securely.
Final Leveling
Use your level to make sure the entire table is balanced. Adjust the legs as needed to create a perfectly level playing surface.
Pro Tips to Make the Move Easier
If you’re moving the table yourself, recruit at least three strong helpers. Pool tables are awkward and heavy, and trying to manage one with too few people is a recipe for injury or damage.
- Take photos during disassembly to use as reference later
- Label everything and keep related hardware together
- Use dollies and ramps when possible to reduce strain
- Always lift with your legs, not your back
- Never stand slate pieces on edge
- Protect floors and walls with padding along the route
Also, plan your route in advance and clear any obstacles. The fewer surprises you have on moving day, the smoother it will go.
When You Should Call a Professional
Attempting to move a pool table without experience can lead to costly damage. You could harm the table, your home, or even injure yourself. A single wrong move might crack the slate, tear the felt, or throw off the balance completely. If any of these apply, it’s best to call a pro:
- Your table has a one-piece slate
- The layout includes narrow staircases or tight corners
- The table is antique or very expensive
- You don’t have the time, tools, or muscle
- You’re not confident about re-leveling the slate
Professional movers who specialize in pool tables have the right tools and know-how to get the job done quickly and without damage. They handle the disassembly, transport, and setup with precision. They also make sure the table is properly leveled and ready to play. Hiring an expert protects both your equipment and your peace of mind.
Moving a Pool Table in Kansas City?
At Moving Proz, we specialize in relocating large, heavy, and delicate items like pool tables, pianos, and safes. Our team is fully licensed, insured, and trained in proper disassembly, transport, and reassembly of all pool table types.
Get your free quote today, and let us handle the hard work so you don’t have to.